 View larger


More info
Steps for Experiment
- 1, removing film, photosensitive film is sandwiched between two layers of film, tear up the side of the first little difficult to tear, try a few on the line
- 2, then foil, copper clad laminates little cleaning can paste level, try not to bubble
- 3, stickers, ready, irons a little heat, not too hot, fixed effect
- 4 printed circuit board film, it is recommended that the film can achieve the highest degree of fine, if not accuracy requirements with sulfuric acid paper print.
- 5, exposure, circuit diagram printed on the photo plate (Note: The dry film is negative, so anti-white print, which is contrary to our usual plate) for about 30 minutes with ordinary energy-saving lamps, exposure machine 1 minute on the line, the sun never tried, it should be about 15 minutes, the exposure process obviously, because the photosensitive film will change color, from light- colored dark blue exposure. You will easily see the circuit diagram is shown in the board.
- 6, developing, torn off another layer of protective film and put it into the developer (developer 1:100 watered, 10 grams against 1 liter of water), developing with a cotton swab and a little harder to wipe the board
- 7, etching Needless to say
- 8, after etching, stripping, mold release agent watered one sixty or 70, the board bulb within minutes
Reviews
No customer reviews for the moment.
30 other products in the same category:
-
TSSOP20...
-

SOIC24...
-
TSSOP28...
-
QFP32...
-
NT Power...
-
Double side...
-
Double side...
-
Double side...
-

Double side...
-
RC Servo...
-

MB-102...
-
ZY-60...
-

700-Point...
-
2.54mm 10cm...
-
2.54mm 10cm...
-
2.54mm 10cm...
-
ZY-102...
-
Arduino Uno...
-
67mm...
-
5 Color...
-

9V Battery...
-
Powerful...
-
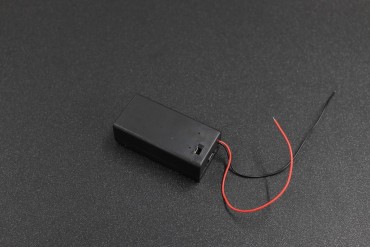
9V Battery...
-
Black...
-
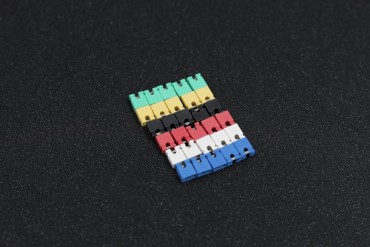
6 Color...
-
Lead-Free...
-
YIHUA 926...
-
YIHUA 08A...
-
YIHUA 08B...
-
MFS50...


