More info
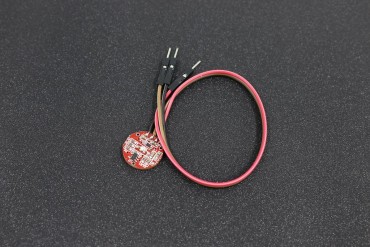
Detail about XD-58C Heart Rate Pulse Sensor
Pulse Sensor” is a well-designed plug-and-play heart-rate sensor for Arduino.It can be used by students, artists, athletes, makers, and game & mobile developers who want to easily incorporate live heart-rate data into their projects. The sensor clips onto a fingertip or earlobe and plugs right into Arduino with some jumper cables. It also includes an open-source monitoring app that graphs your pulse in real time.
Let’s get started with Pulse Sensor Anatomy
The front of the sensor is the pretty side with the Heart logo. This is the side that makes contact with the skin. On the front you see a small round hole, which is where the LED shines through from the back, and there is also a little square just under the LED. The square is an ambient light sensor, exactly like the one used in cellphones, tablets, and laptops, to adjust the screen brightness in low-light settings. The LED shines light into the fingertip or earlobe, and the sensor reads the light that bounces back. The back of the sensor is where the rest of the parts are mounted. We put them there so they would not get in the way of the of the sensor on the front. Even the LED we are using is a reverse mount LED.
The cable is a 24” flat color coded ribbon cable with a standard female header connector.
RED wire = +3V to +5V
BLACK wire = GND
PURPLE wire = signal (analog pin 0 [zero] in supplied code)
The Pulse Sensor can be connected to arduino with jumpers, or plugged into a breadboard with male header pins. Before we attach the Pulse Sensor to the ear clip or velcro dot, let’s get it up and running so you can play with it and find the best place on your body to get a good signal.
If you don’t already have them, you will need to download.
The Code For Hardware and Software
Then you can get the latest Arduino and Processing Pulse Sensor software:
We strongly advise that you DO NOT connect the Pulse Sensor to your body while your computer or arduino is being powered from the mains AC line. That goes for charging laptops and DC power supplies. Please be safe and isolate yourself from from the power grid.
Connect the Pulse Sensor to: +V (red), Ground (black), and Analog Pin 5 (purple) on your favorite Arduino, or Arduino compatible device, and upload the ‘A_PulseSensor_xx’ sketch. After it’s done uploading, you should readily see pin 13 blink in time with your heartbeat when you hold the sensor on your fingertip. If you grip the sensor too hard, you will squeeze all the blood out of your fingertip and there will be no signal. If you hold it too lightly, you will invite noise from movement and ambient light. Sweet Spot pressure on the Pulse Sensor will give a nice clean signal. We are all original organisms, so you may need to play around and try different parts and pressures. If you see an intermittent blink, or no blink, you might be a zombie or a robot. To make sure, start up Processing on your computer and run the ‘P_PulseSensor_xx’ sketch.
Note
If you get an error at startup you may need to make sure you are selecting the right serial port. Check the Troubleshooting section below. Also, you can save an image of the sketch window by pressing ‘S’ or ‘s’. You will find the image (.tif) in the Sketch Folder.
The large main window shows raw sensor data graphed 1:1 (pixel : datapoint) over the Arduino’s full ADC range (0 to 1023). This window is only 400 pixels tall, so it is designed to auto-adjust when the waveform moves out of the picture. The group of three numbers on the left correspond to the pulse waveform peak, trough, and amplitude. At the top of the screen, a smaller data window graphs heart rate over time. This graph advances every pulse, and the Beats Per Minute is updated every 10 heart pulses. The big red heart also pulses to the time of your heartbeat. When you hold the Pulse Sensor to your fingertip or earlobe or (fill in body part here) you should see a nice saw-tooth waveform like the one above. If you don’t, and you’re sure you’re not a zombie, try the sensor on different parts of your body that have capillary tissue. We’ve had good results on the side of the nose, middle of the forehead, palm, and lower lip. We’re all different, original organisms. Play around and find the best spot on you and your friends. As you are testing and getting used to the sensor. You may find that some fingers or parts of fingers are better than others. For example, I find that when I position the sensor so that the edge of the PCB is at the bottom edge of my earlobe I get an awesome signal.
Reviews
No customer reviews for the moment.
30 other products in the same category:
-
RDA5807M...
-
HC06...
-
ISD1820...
-

WT588D16P...
-
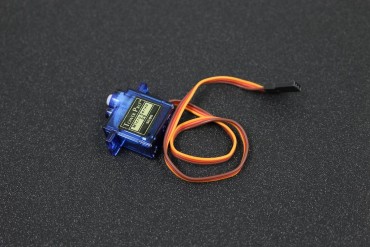
SG90 Tower...
-

One Channel...
-

Two Channel...
-

Four...
-
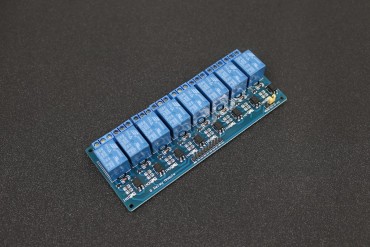
Eight...
-

Sixteen...
-
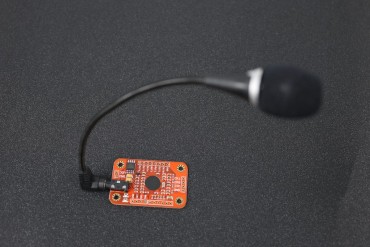
Voice...
-

Finger...
-
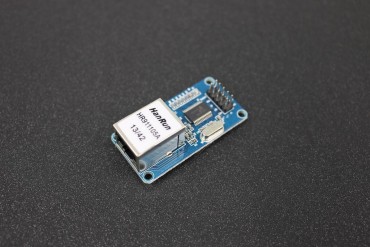
Ethernet...
-

A4988...
-

BH1750FVI...
-

MMA7660...
-
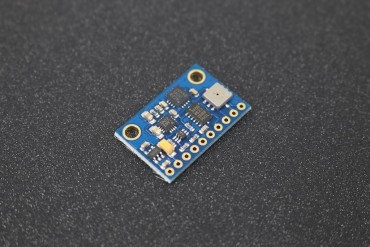
10DOF...
-

PAM8403...
-
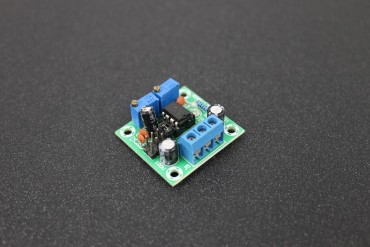
NE555 Pulse...
-
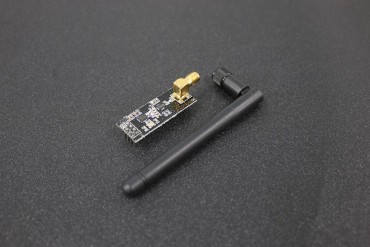
NRF24L01+PA...
-

SI4432 1000...
-

HX711...
-

Rotary...
-

BMP180...
-

MAX7219 Dot...
-
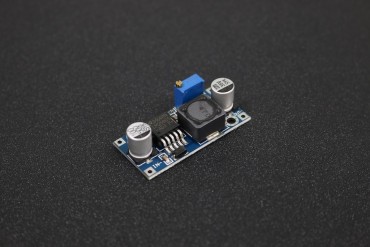
LM2596 ADJ...
-
TTP229...
-

TP4056 1A...
-

MMA7455...
-
HC-05...