More info
Overview
The Piezo Disc gives you the sensors to turn virtually anything into a drum. In the past I have used these piezo sensors to rig up my desk and couch to play sounds when people interacted with them. This guide is a simple introduction to working with the piezo elements. Once you are able to detect voltage levels from the piezo sensors, you can use them to trigger sounds, turn things on and off, start your car, etc. The possibilities are endless. We call this the drum kit because we first used it to generate drum sounds using an Arduino and MP3 player shield, but it could be used with any other hardware that requires percussive velocity input.
Requirements
- Soldering iron
- Solder
- Arduino
How it Works
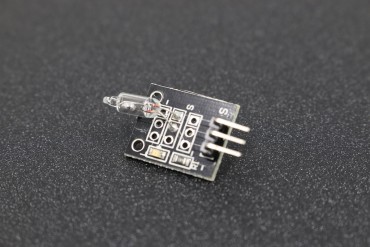
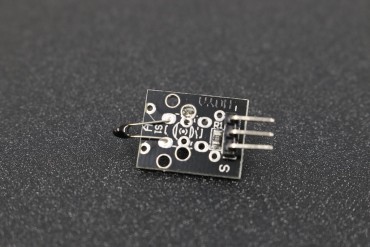
First, let's talk about the two main components. The first component is the piezo element itself. The piezo element has two leads, and when the pad is pressed, the element generates a small voltage across its leads. Piezo elements come in lots of shapes and sizes, but the ones in your hand are well-suited for detecting a hit or finger press. The other main component is 1M Ohm resistors. These are used in parallel with the piezo elements as pull-down resistors to ensure a good read of the voltage produced by the element. If this doesn't make sense now, don't worry, it will be explained further later. In this guide we'll be using an Arduino Uno for the example code, but this disc could be used with any device that can detect a small (less than 5v) voltage in an analog fashion.
How to Use it
Out of the box, our first step is to wire a resistor to the piezo element. We could simply jam the resistor and piezo element leads into the Arduino Uno female headers. However, that might not form a proper connection, so we'll solder them together. If you've never soldered before, you might want to check out our Soldering 101 tutorial.
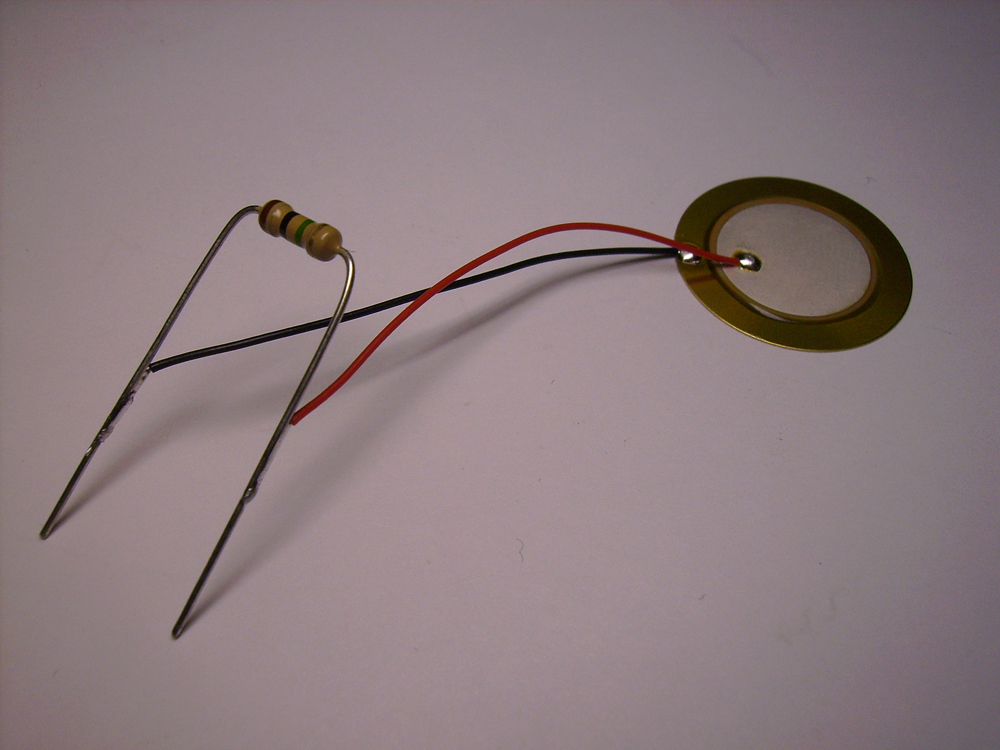
To make the connection, solder the leads of the resistor to the leads of the piezo element in a parallel fashion like this
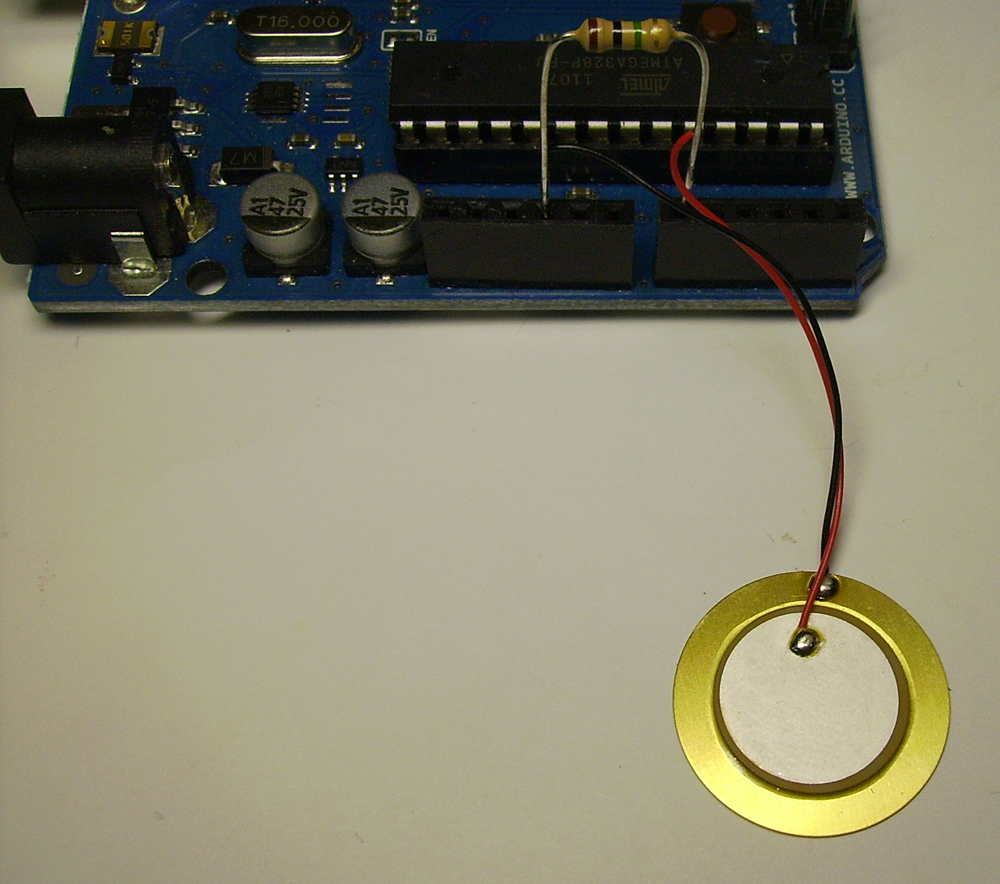
To connect this to the Arduino, insert one lead of your assembly into the Analog 0 line (any analog input will work, but for this example we'll use A0) and the other lead of your assembly into a ground line. When you're finished, it should look like this.
This circuit will keep the analog line at zero volts until the piezo element is agitated. When that happens we will read a voltage on the analog zero line. The reason for the resistor in parallel with the element is to keep the analog line at zero volts until the piezo element produces a voltage. When this happens, the voltage produced "overrides" the weak pull-down by the resistor, allowing the voltage to be read on the analog line. This is a very high-level description, so if you'd like to know exactly why this works, be sure to read up on the use of pull-down resistors.
Now we can start coding. At this step, we need code that does two things: reads the voltage on the analog line, and then prints that voltage to the terminal. The following code does just that:
#define DRUM1 0 // Our analog pin
byte val = 0; // Initializing the variable for the voltage value
void setup()
{
Serial.begin(9600); // Initializing the serial port at 9600 baud
}
void loop()
{
val = analogRead(DRUM1); // Read the voltage
Serial.println(val, DEC); // Print the voltage to the terminal
}
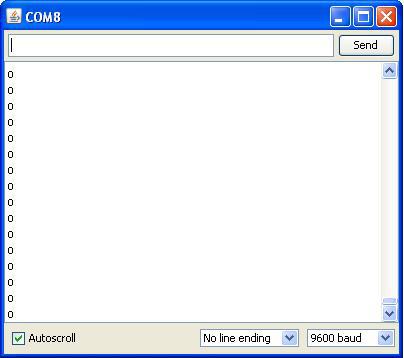
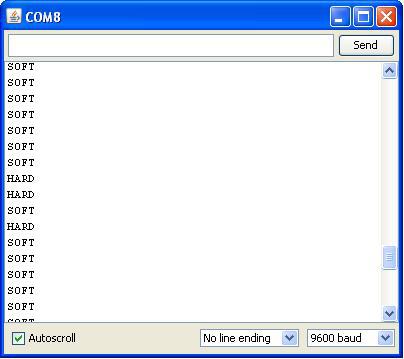
Copy-paste and load this code onto your Arduino. Once the code is uploaded, open the Arduno IDE serial monitor. Make sure it is set to 9600 baud. Once the board resets, the Arduino will start printing out voltage values (in this case, just an endless string of zeros, because of the 1M Ohm pull-down).
Go ahead and hit the piezo element with your finger. Notice the printed value change. Hit it lightly, and note the value registered. Then hit the element a bit harder, and notice that the value registered is higher than before. This is because the more the piezo element is agitated, the higher the voltage it produces. When applied to something like a MIDI keyboard, this is called "velocity." You can trigger different things based on whether or not the piezo element was hit very hard, very soft, or anywhere in between. For example, you could trigger a loud drum sound when the element is hit hard, and a quiet drum sound when the element is hit softly. You simply need a threshold value to distinguish between hard and soft hits. The code below sets a threshold of 200 to distinguish between the two types of hits.
#define DRUM1 0
#define THRESHOLD 200
byte val = 0;
void setup()
{
Serial.begin(9600);
}
void loop()
{
val = analogRead(DRUM1);
if(val > THRESHOLD) { Serial.println("HARD"); }
else if(val > 0) { Serial.println("SOFT"); }
}
With this code, if the value detected by the analog pin is over the THRESHOLD value, it will print "HARD," otherwise it will print "SOFT."
Conclusion
That's the basics of detecting voltages on the piezo sensors. From here, the application is up to you. Just solder together the other of the piezo elements with resistors, and use them in the exact same way with the other analog pins on the Arduino. You can put them in anything you want to use to detect vibration. Use them to trigger sounds or lights; the possibilities are endless!
Documents & Simple Codes
Reference
SparkFun Tutorial - https://www.sparkfun.com/tutorials/330
Reviews
No customer reviews for the moment.
30 other products in the same category:
-

100K Ohm...
-

LM35DZ...
-

QRD1114...
-
SCT-013-000...
-

50kg...
-

GP2Y0A41SK0...
-

DHT22/AM230...
-

E18-D80NK...
-

GP2Y0A21YK0...
-
Keyes Ball...
-
Keyes Touch...
-

Keyes...
-
Keyes Tilt...
-
Keyes...
-

Keyes...
-
Keyes Tap...
-

Keyes Light...
-

IR...
-

Keyes...
-

Keyes Reed...
-

Keyes...
-

Keyes Mini...
-

Keyes...
-

Keyes...
-

Keyes SS49E...
-

Keyes...
-

MD-PS002-70...
-

Oil Fuel...
-
DHT12...
-
AM2320...